How to Check a Quest's Network
Match the network on a Denshin quest to the one in your wallet, check the right balance, and know what to look for if Verify leaves a task open.
You open a Denshin quest that says Base, but the wallet prompt says Soneium. The wallet address looks right and the fee is shown in ETH. Should you go ahead? Close the prompt for a moment. Base and Soneium both use ETH for fees, so the fee symbol alone can't tell you which network the action will use.
We put the network on the quest card and on the task itself. Here's how to use those labels before you approve anything, and what to check if you've already done the action.
Read the task before opening your wallet#
Open the quest card and find the Chain field. Then open the task you want to finish and read its instructions. Some tasks ask you to hold a particular balance. Others ask you to do something, such as swap a token on a named venue. A quest that needs two networks says so; check which network each instruction refers to. Tasks that check a linked account may have no wallet transaction at all. The quest handbook explains how these fields fit together.
Keep the task open while you get ready. The quest title is easy to remember, but the task tells you which network, asset and action matter. If you want to play right away, you can pick a different quest on a network you're already set up to use.
Match the network name in the wallet#
Read the network name in your wallet before you continue. If it doesn't match the task, close the prompt, switch to the network the task asks for and reopen the action from the official app or venue. Then read the new prompt. Check the network again even if the wallet switched automatically.
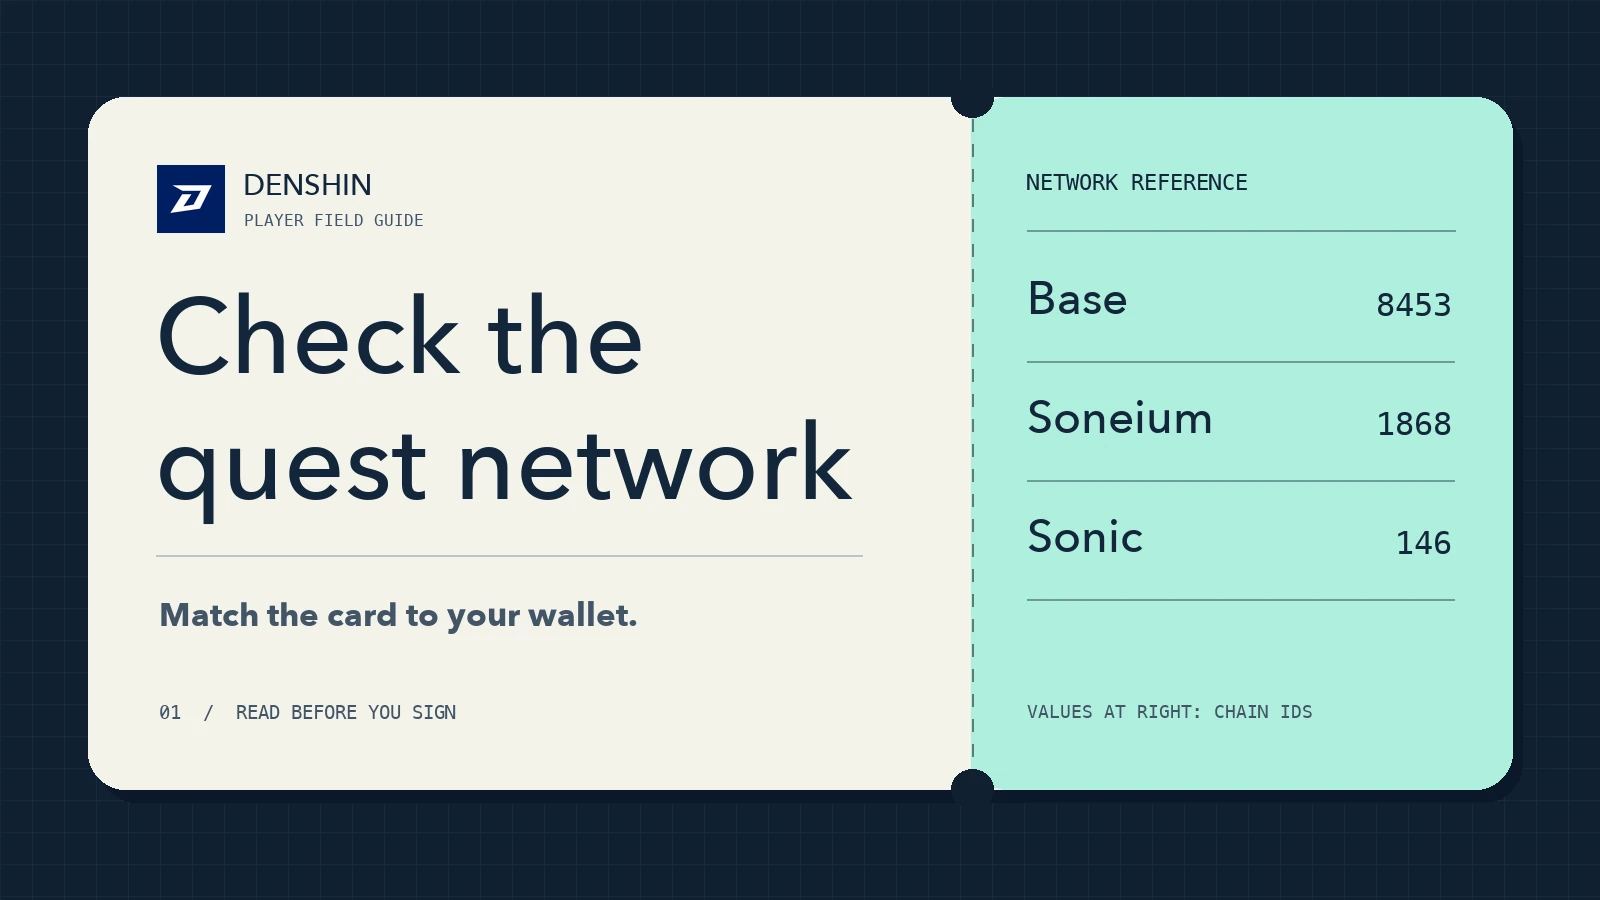
The network name is the easiest thing to compare. If your wallet shows a numeric chain ID, you can use that to check a custom network entry too. Here are the IDs for the supported networks:
| Network | Chain ID | Token used for gas |
|---|---|---|
| Base | 8453 | ETH |
| Soneium | 1868 | ETH |
| Sonic | 146 | S |
For example, if the task says Base, look for Base in the prompt. ETH in the fee estimate doesn't settle the question. If your wallet shows the chain ID, look for 8453.
Check the balance on that network and address#
Changing networks changes which balances you're looking at. It doesn't move any tokens. An address can show ETH on Soneium and a different ETH balance on Base. If the action runs on Base, fees come from your ETH balance on Base. Look at the asset named by the task as well: two tokens with similar names can be different assets on different networks.
Check the address as carefully as the network. For an ordinary on-chain quest we use the main wallet on your Denshin profile. A different linked account can sign you in, but its balance doesn't get added to your main wallet's balance for the task. The wallet guide explains where that distinction matters, including the separate rules for Daily Check.
If you already sent the transaction#
Open the transaction details from your wallet. The receipt can tell you which network recorded the action, which address sent it and whether it confirmed. Switching your wallet now won't move a transaction that was already sent. Leave the receipt open while you reread the task.
If the network and address match, compare the action and any named venue with the instructions. For tasks that look for an action, Denshin checks what happened after you pressed Start mission. A balance check looks at what the wallet holds when it checks. If the transaction is still pending, wait for it to confirm before using Verify. If Verify leaves the task open, read the result before you send anything again. The verification guide describes what the different checks look for.
On your next quest, put the card and the wallet prompt side by side. Start by matching the network name, then the address and the requested action. That small check saves you from trying to diagnose a transaction that was sent to the wrong place.