Building a Neon City Map in PixiJS: Layers, Fog and Traffic
Inside our browser city map: how we order streets, quarter art, traffic and quest markers, and why camera distance changes the way the city looks.
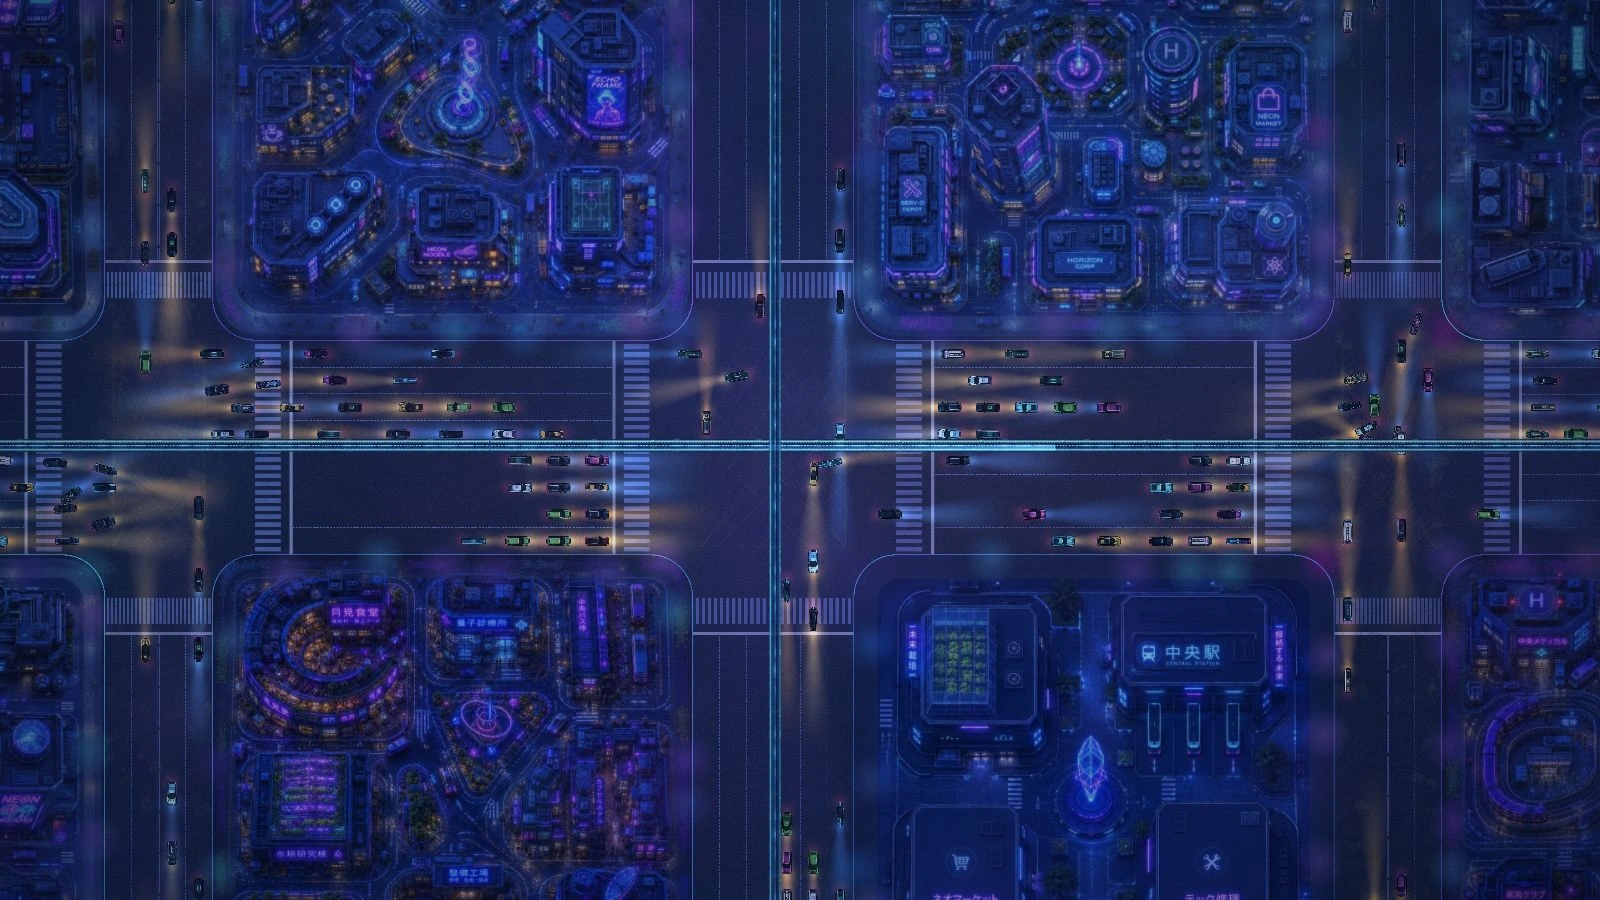
A street name belongs on the asphalt. Cars should drive over it. A quest marker needs to stay readable while the street underneath it is sealed. Those are small visual decisions, but they determine whether a player can understand a city at a glance.
Our map runs in PixiJS in the browser. It combines illustrated quarter art, road geometry, moving traffic, atmosphere and clickable markers. Each piece has its own job, and the order in which we draw those pieces is part of the game design. This is a tour of that order, from the street surface to the camera looking down on it.
Start with a world that moves together#
The map's layers sit inside one world container. Panning changes the world's position; zooming changes its scale. Roads, blocks and cars therefore stay in the same coordinate system while the view moves around them.
That sounds ordinary until a visual element ends up outside the arrangement. A label that moves differently from the road looks attached to the screen. A glow that loses its relationship to a building looks like a floating effect. Keeping the city together gives us a stable place to decide what each object should cover.
The interface has a different job. A button needs to remain usable as the player drags the map underneath it. We keep that distinction clear: the world is the place being explored, and the interface is how the player chooses what to do there.
Draw the street before its movement#
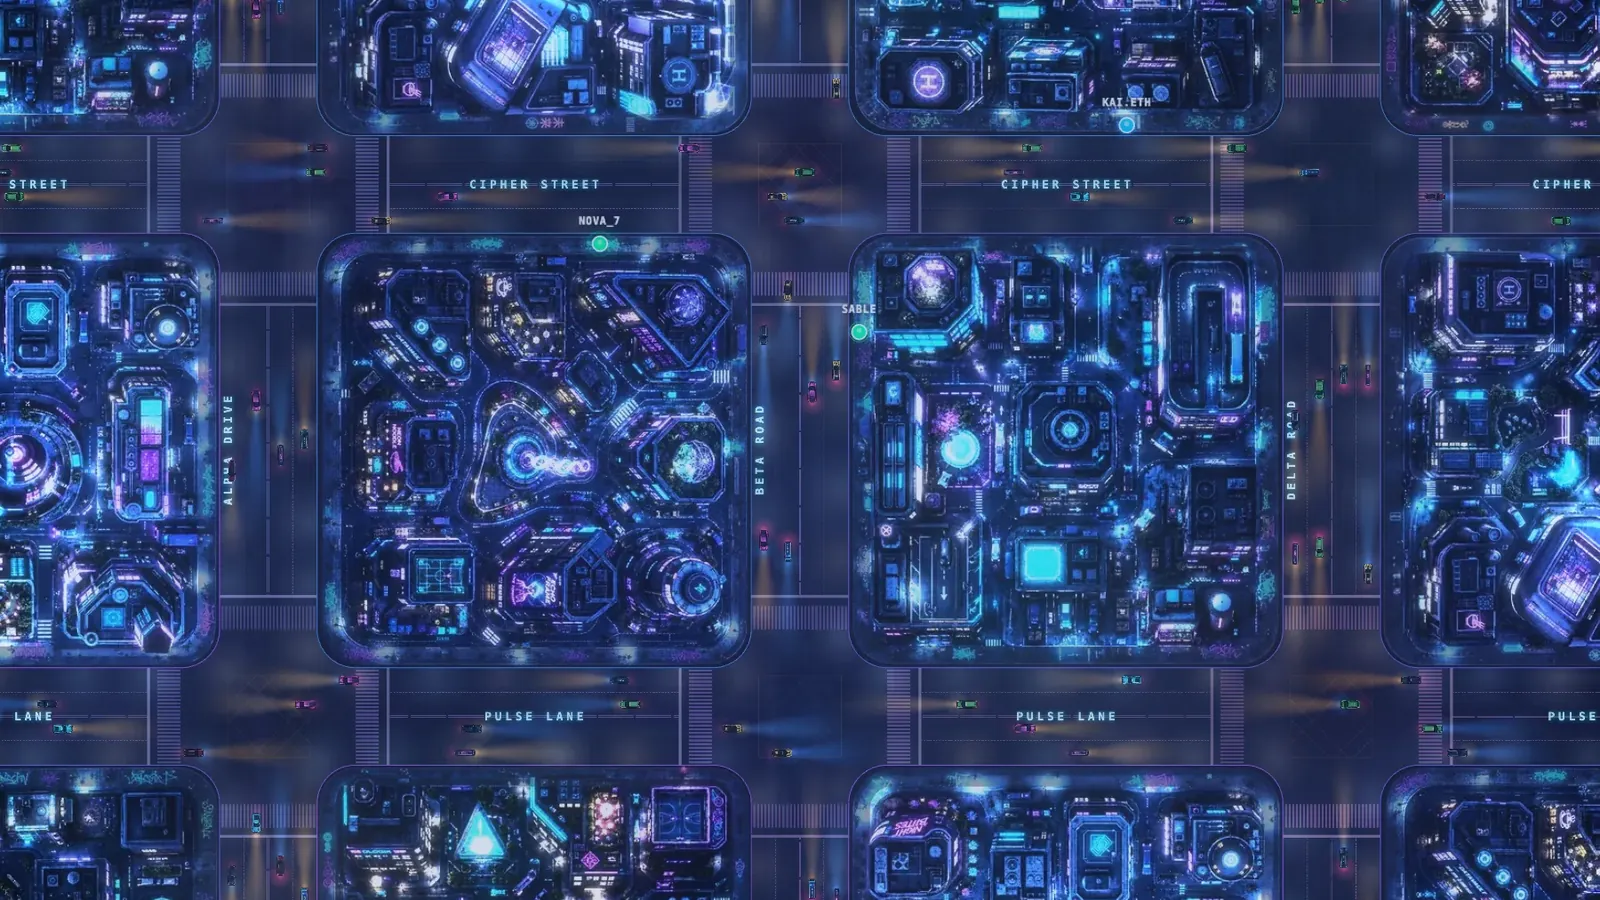
We begin with the ground and the road markings. Quarter surfaces and their artwork establish the blocks. Street labels sit above the surfaces, followed by road effects and traffic. Neon light, building elements and the elevated expressways complete the visible city below the lock treatment.
The street labels are a useful example. We place them below traffic so a car passes over a painted name. Moving those names higher would make them easier to read in isolation, but it would also make them float above every car. Their position in the stack gives the viewer a clue about what they are.
The same reasoning applies to light. A road marking needs to feel like paint under the city's night lighting. Its colour belongs to the scene around it. When every bright surface competes equally for attention, it becomes harder to distinguish a street detail from something the player can click.
A sealed quarter needs a coherent silhouette#
Our lock treatment sits above the quarter art, traffic, neon and buildings. That placement lets the whole area read as sealed. Bright windows or an expressway shining over the treatment would weaken that signal.
Quest banners sit above it. They are the route into the task, so the player needs to see where a quest is and inspect its status. Each banner carries its own visual lock state. A sealed region can therefore remain readable without exposing the city underneath as though it were open.
This also keeps the renderers' responsibilities manageable. The layer order decides which scenery the treatment covers. A road renderer can concentrate on roads, while the quest marker handles the status the player needs to understand. Changing the meaning of the lock is a deliberate change to the composition.
Distance changes the atmosphere#
There are two kinds of fog in the scene. Local road atmosphere belongs with the road effects. A separate city-wide overlay sits above the world and responds to camera zoom.
At a wider view, the overlay contributes more haze. As the player moves closer, it becomes transparent and the quarter details come forward. The camera distance therefore changes the amount of atmosphere between the player and the city.
The update follows the camera scale. When the calculated opacity is unchanged, we leave it alone. That small rule reflects a broader habit in a scene with many moving parts: an effect should update the state it actually needs, at the moment it needs it.
Traffic has a street system underneath it#
The cars follow lanes, approach intersections, wait at lights and turn. Those behaviours give the movement a relationship to the road layout. The traffic system also checks the viewport so vehicles outside the visible area do not all need to be drawn.
Rendering and movement have separate concerns here. A car can leave the picture while its simulation continues. When the camera reaches that road again, the traffic still belongs to the same street system. Nearby off-screen space gives the renderer room to prepare for what will enter the view.
Animated systems also have a lifecycle. They register updates with the ticker and remove those updates when the system is destroyed. A map that opens, changes and closes needs that cleanup just as much as it needs the animation itself.
Let the artwork arrive around the camera#
Illustrated block art does not all have to arrive before the first useful frame. Our streamer prioritises the visible area, orders pending blocks by distance and limits concurrent loads. The rest of the city fills in behind that first view.
We covered the loading work and its measurements in our earlier PixiJS performance article. Here the visual consequence matters: the player should be able to read the street layout while the richer artwork arrives. Loading order is another form of visual priority.
Read the city as one composition#
When we review the map, we look for relationships: labels under cars, markers above sealed areas, atmosphere that follows distance, and lights that sit inside the scene. A screenshot can reveal a misplaced layer. Dragging and zooming reveal whether the same arrangement holds together in motion.
The image above is a fresh capture from the running city, with the interface outside the frame. Open the live map and move between the streets and the quarter view. The artwork gives each block its character; the layers, movement and camera make those blocks work as a place to explore.