Texture Atlases for a Browser Game Map
How we pack the road markings and vehicles on Denshin's browser map, and why we load the two texture atlases at different times.
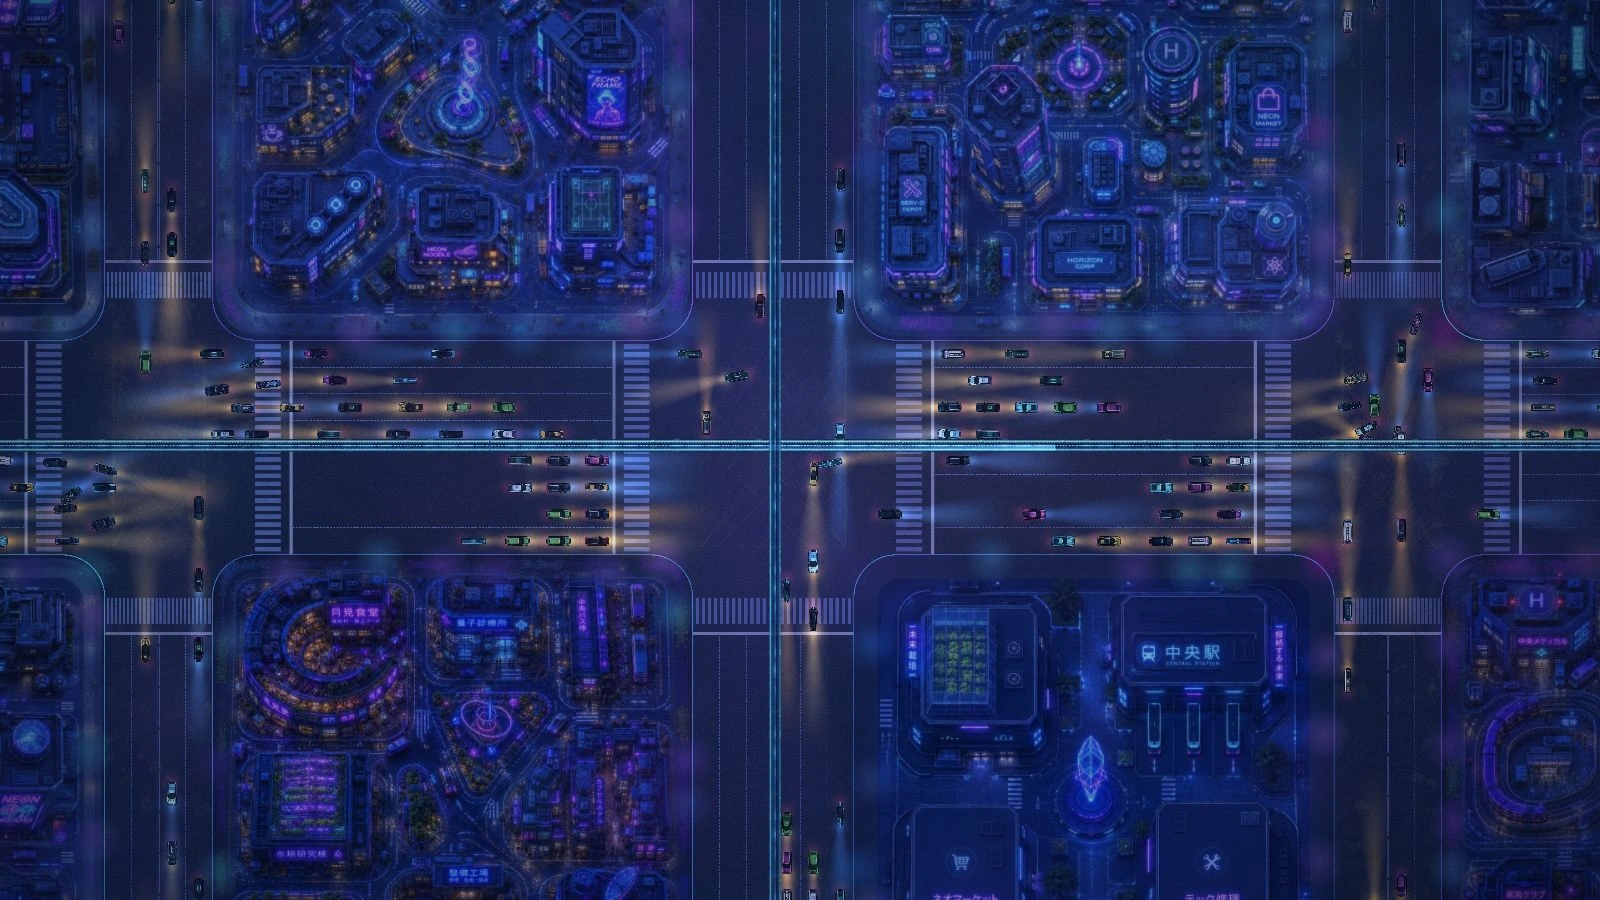
The first thing we want you to see when you open Denshin is a readable city. The street markings help with that. A car turning onto an avenue helps the city feel alive, but the map can already tell you where you are before the car arrives. Those two jobs look similar in the art folder. They shouldn't have the same place in the loading queue.
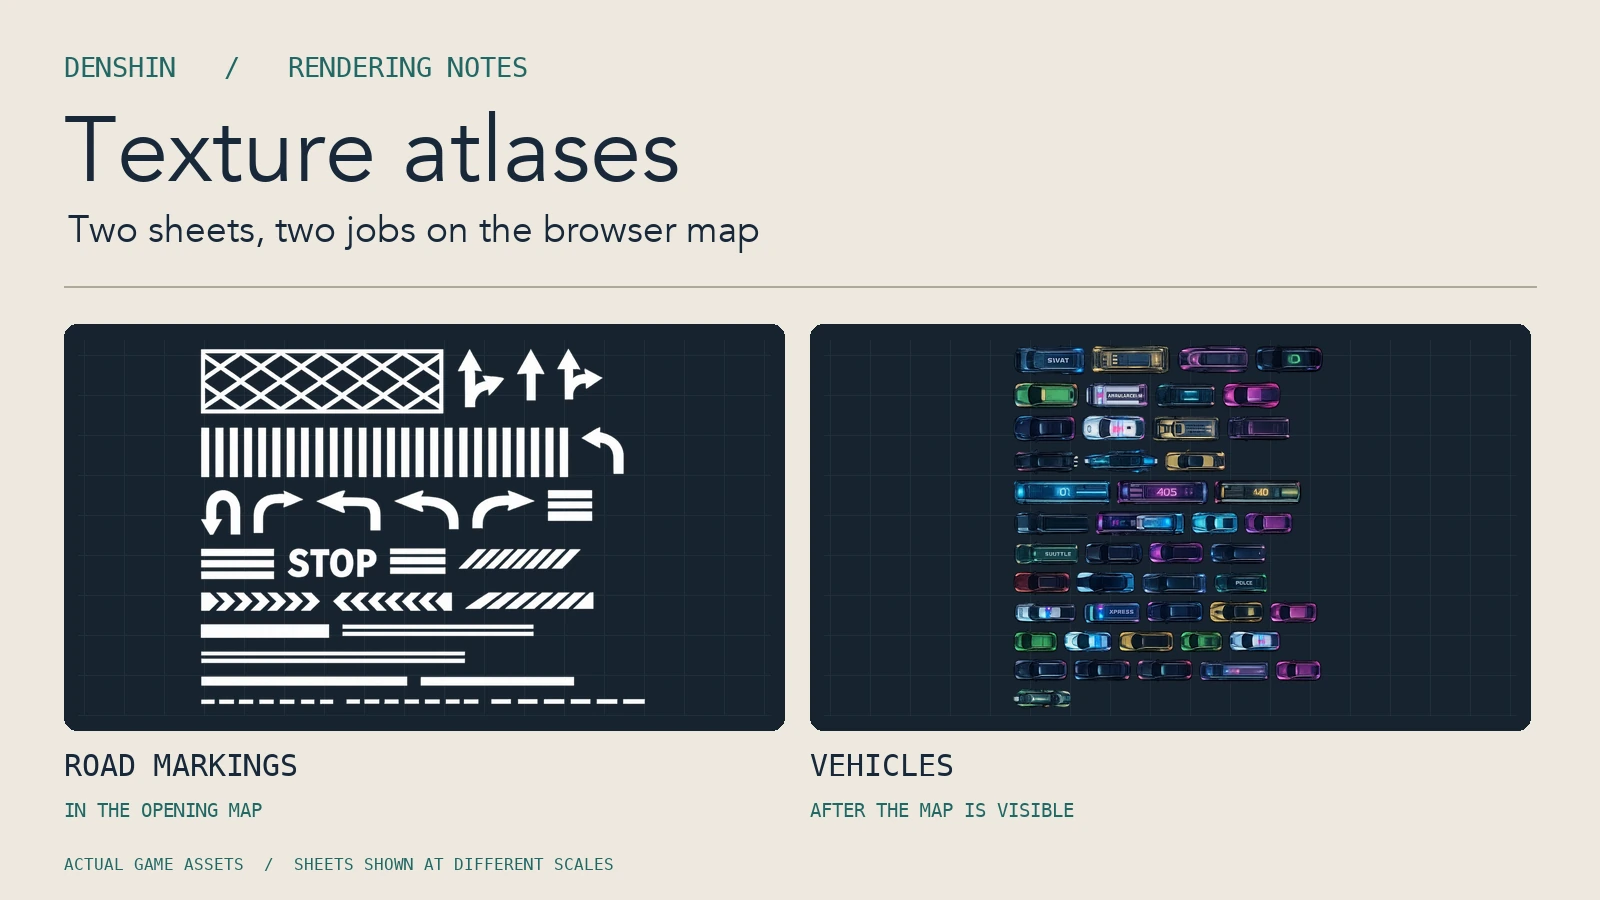
We pack the road markings and the vehicles into separate texture atlases. Here's what an atlas changes, how we keep the images in the right place, and why we don't put all the map art on the same sheet.
One image, many named rectangles#
A texture atlas is an image containing many smaller pictures. A companion file gives each picture a name and describes its rectangle on the sheet. When the map asks for a traffic sprite, PixiJS can use the named region of the traffic image. The renderer can position, rotate and scale that sprite as usual. The surrounding pixels stay out of the sprite.
Imagine a sheet with a turning arrow beside a length of dashed road paint. Neither has to be the same size, and neither needs its own image download. We keep the rectangle for each one in the companion file. The map can use the arrow at a junction and repeat the dashed line down an avenue. Updating the sheet changes where they sit in the file; it doesn't change where the map puts them.
The map should open before the traffic arrives#
Putting several pictures on a sheet can reduce the number of separate image requests. But bundling also means that the browser has to fetch the whole image before it can draw a single frame from it. Put an essential arrow on the same sheet as every car, and you've just made the first view wait for cars.
Our markings sheet is part of the load for the opening map. The traffic sheet is requested after the map is on screen. If a connection is slow, streets can be readable while the vehicles are still on their way. Smaller surface details can wait longer still. We keep the artwork for the quarters on a separate path and load it where the player is looking. A sheet for every block would make the browser fetch blocks you might never visit.
Our earlier post on building the neon map in PixiJS explains how those visible layers fit together. The atlas is one part of that system. It tells us how to deliver small pieces of artwork, while the map decides when it needs them.
Preserve the shape, including the empty space#
An atlas builder can often fit more art on a sheet by trimming transparent margins or rotating a frame. That works if the runtime knows how to undo the change. For our sheets, we keep the original transparent bounds and don't rotate frames during packing. The transparent part of a sprite still matters: the map might place the sprite using the centre of the whole frame, not the centre of the visible pixels.
We leave clear pixels between frames, too. If two pictures touch on the sheet, texture filtering can pick up a sliver of the next picture at some zoom levels. A thin road line is a good place to catch that: an unwanted fringe that is easy to miss on a full-size sheet becomes visible against a dark road.
Our road markings use lossless WebP because those edges are especially easy to see. The traffic sheet uses a different WebP setting. The cars are small on screen, so we can compress their colour data while retaining the transparency of their silhouettes. We made the choice for each group of sprites separately.
Check rendering and loading separately#
Several sprites that share a base texture are easier for the renderer to batch than the same sprites spread across separate images. That can help a busy traffic layer, where the draw order may put different vehicle sprites next to each other. An atlas doesn't make the whole scene a single draw call. Different render states can still break a batch, and a bigger sheet still costs time to transfer, decode and upload.
If you're trying this on your own map, start with sprites that are used together and need to show up at the same time. Compare the network waterfall, especially what the first visible frame waits for. Then zoom in and out to check anchors and fringes, and inspect a busy scene with the renderer's profiling tools. If the first frame gets slower, check whether some decoration slipped into a sheet you now have to load early.
The useful result is a city that opens with enough detail to orient yourself. The traffic can join when it's ready. You can walk the map in Denshin or read our guide to the city and its quarters.